Customize and Manage Emails
When sending a campaign email through the Email Marketing section, you will be given the opportunity to personalize the email to truly make it your own. Through our easy to use wizard for adding a campaign, you will be able to do everything from customizing your email subject line and preview text to choosing a template, uploading images, and more. Below, we will walk you through all of the different features available in the wizard for specifically customizing and managing your email.
Configure Email
- Input the Email Name, Campaign Type, Subject, Preview Text, and Sender Information.
- Note: Make your subject catchy and engaging! This will improve the chances of your email being opened.
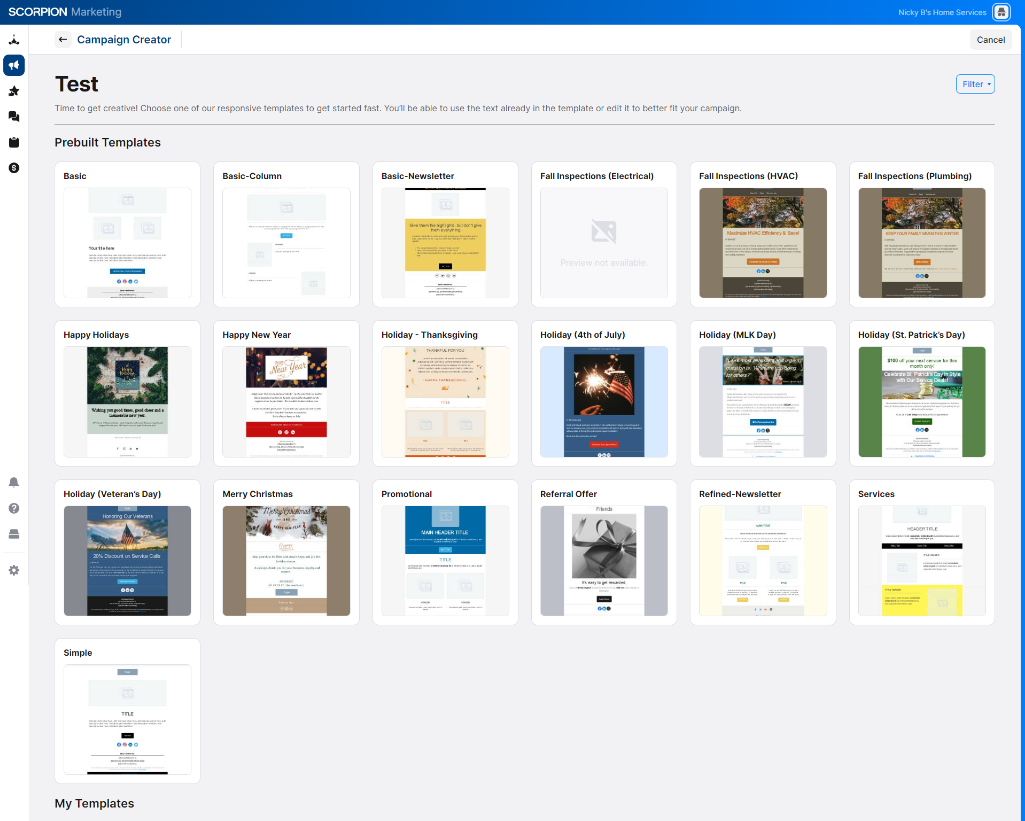
Choose Email Template
- After setting up your campaign type and marketing goals, the first step in customizing your email is choosing the template you want. There are multiple templates available to determine the framework of your email. Some of these are designed to support a newsletter, feature a new blog post, showcase a special offer, and more! Pick the one that most closely aligns with your goals for the email.
- Note: You can create custom templates that will live under My Templates.
Manage Email
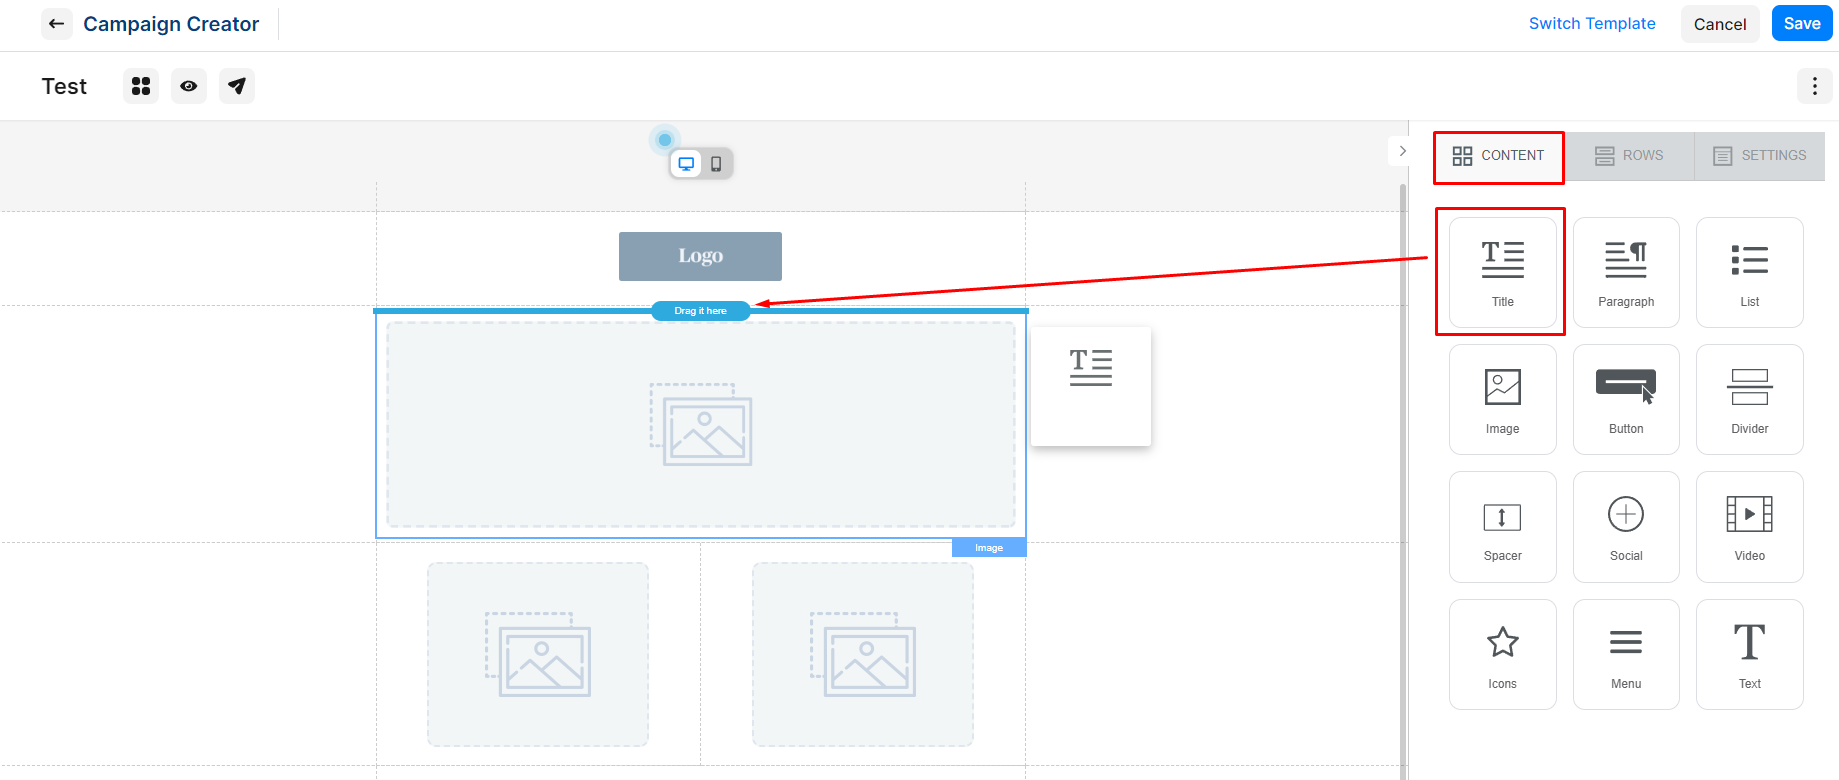
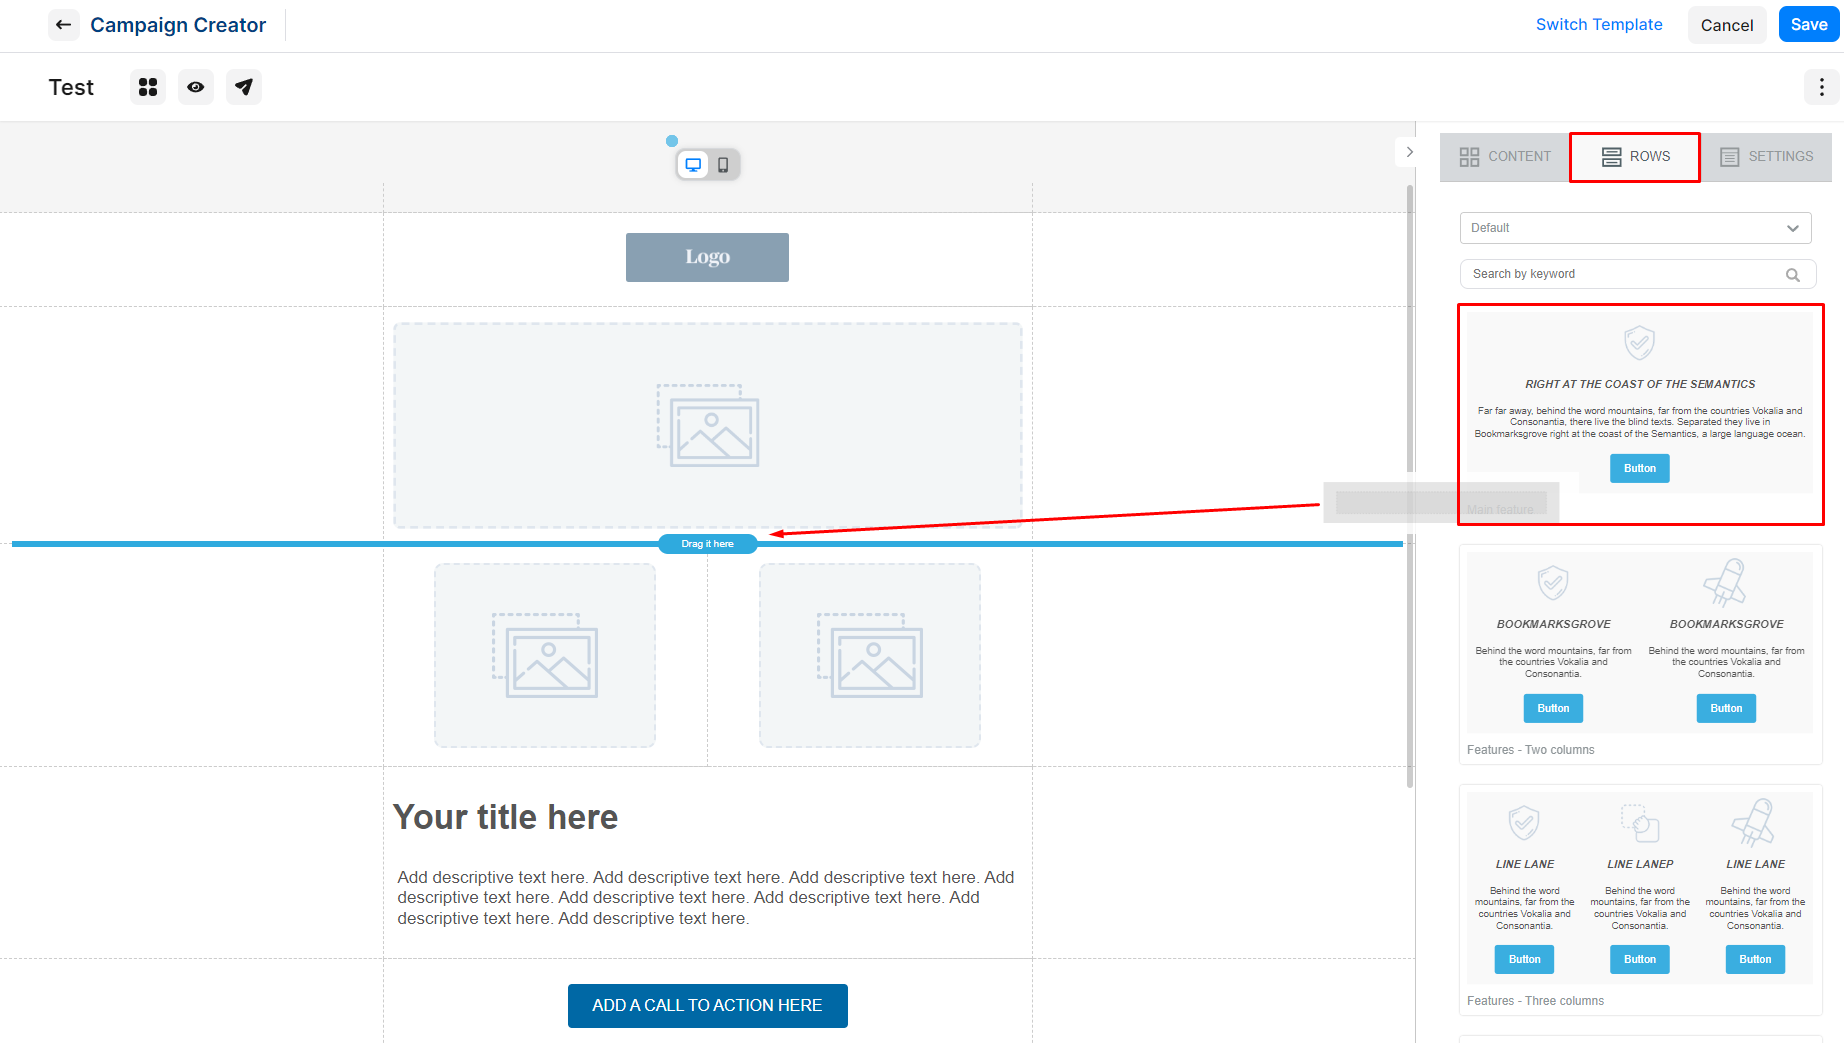
- Go to the content zones to view the edit options for each of the various headings, buttons, and paragraphs. You will also have the option to insert new sections with text, move sections around, add buttons, upload images, and more! Once you select the zone, you will have options such as changing the text, formatting (making it bold, for example!), alignment, and even the color.
- Note: Make sure that you customize the alt text associated with any images!
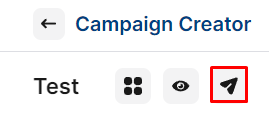
- Once you are happy with the way that your email looks, send a test email! Check it out, make any adjustments that you would like, and then move on to the final steps in the wizard to create your recipient list and complete your campaign.